The first hot spot usually arrives quietly. A faint warmth under the ball of the foot, a tender edge along the heel, something you notice only because the trail has gone still. Knowing how to prevent blisters when hiking is less about one perfect product and more about managing friction before that warmth becomes damage. After enough long days in the Rockies, I trust a simple system: fit the shoe carefully, keep friction predictable, control moisture, and stop early when the skin starts talking.
Start with fit, not blister patches
Most blister problems begin before the hike, in a shoe that moves too much or compresses the foot. Your heel should stay seated when you walk downhill, while your toes need room to spread without touching the front. Try footwear late in the day, when feet are naturally a little larger. Wear the socks you actually hike in, then walk stairs or an inclined surface rather than standing on a carpet.
A shoe that feels slightly loose in the store can become a sliding platform after several miles. A shoe that feels snug around the midfoot may become punishing once your feet swell. I look for a secure heel, even pressure across the instep, and roughly a thumb's width between the longest toe and the front of the shoe. Lacing matters too. A heel-lock pattern can reduce downhill movement without cinching the entire foot until circulation suffers.
If you are between sizes, do not assume thicker socks will solve everything. They can remove useful volume and create pressure over the toes. For backpacking, test the complete setup on a local loop with the same pack weight you expect on the trip. Learning how to prevent blisters when hiking starts with discovering these problems near the trailhead, not above treeline.
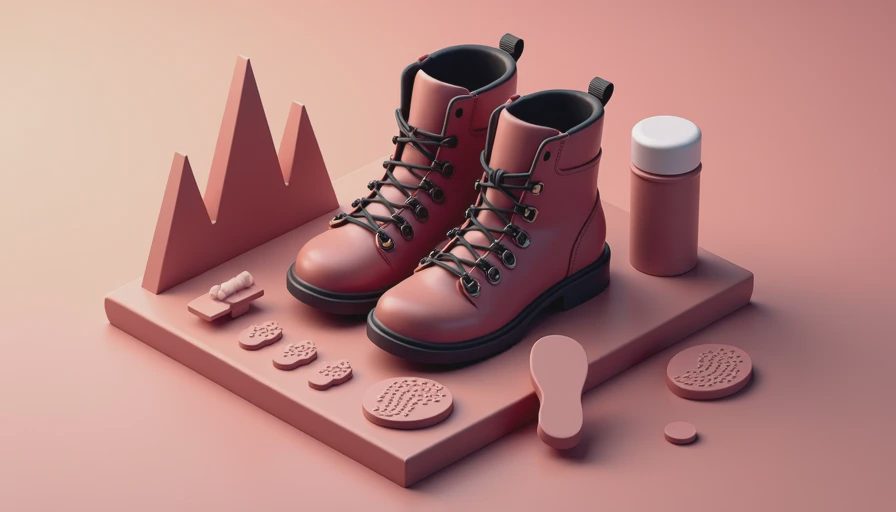
Socks, moisture, and friction
Socks do not need to be expensive, but they need to behave consistently. I usually prefer a close-fitting merino blend or synthetic hiking sock with a smooth toe seam and enough structure to stay in place. Cotton holds moisture against the skin and often bunches as it dries slowly, which makes it a poor choice for long, wet days.
A spare pair weighs little and can change the character of an afternoon. At a lunch stop, I will remove my shoes, turn the socks inside out, and let both feet and fabric air for a few minutes. If a creek crossing soaks everything, changing socks is more useful than pretending the moisture will not matter. Carry the wet pair on the outside of the pack where it can dry rather than stuffing it against your back.
Lubricant can help in areas that repeatedly rub. A small amount of a foot balm or friction product on the heel, between toes, or along a known seam can reduce shear. Do not coat the entire foot until it feels slick; excess product can make the foot slide inside the shoe. Powder has a place for some hikers, but it can cake when combined with sweat. The best choice is the one that leaves your skin dry and your foot stable.
Treat hot spots before they become blisters
The most important skill in how to prevent blisters when hiking is recognizing a hot spot as a mechanical warning, not an inconvenience. Heat, stinging, or a tender patch means layers are moving against each other. Stop as soon as you notice it. Five minutes beside the trail is a small price compared with walking another six miles on broken skin.
Remove the shoe and sock, then inspect the area. Brush away grit, let moisture evaporate, and identify the cause. A folded sock, loose lace, damp skin, or a wrinkle in a liner can create the problem. Fix that cause before covering the spot. If the skin is intact, apply a smooth piece of blister tape, kinesiology tape, or a purpose-made hydrocolloid dressing with no wrinkles. Press the edges firmly and give the adhesive a moment to bond.
Tape works best on clean, dry skin. If the area is sweaty, wipe it and wait rather than trapping moisture under the dressing. I carry a few pre-cut pieces in a small zip bag because cutting tape with cold hands and a tiny knife is an unnecessary chore. This early intervention is the heart of how to prevent blisters when hiking: notice, stop, correct, cover, and continue only when the rubbing has changed.

What to carry for foot repairs
A compact foot-care kit should fit in the same pocket every time. Mine contains several pieces of tape, two hydrocolloid patches, a small amount of antiseptic wipe, a few squares of gauze, and a safety pin reserved for sterile blister drainage if that becomes necessary. I also carry a spare pair of socks on trips where rain, snow, or repeated stream crossings are likely.
An intact blister is usually best protected rather than opened. Cover it with a cushioned dressing, reduce pressure, and adjust the shoe. If a blister is large, extremely painful, or likely to rupture inside the shoe, drainage can be considered with clean technique, but leave the overlying skin in place. Clean the area, use a sterile needle, drain from the edge, and cover it. Stop hiking if redness spreads, warmth increases, pus appears, or pain becomes disproportionate; those can signal infection and deserve medical attention.
Do not use a pocketknife or an unclean needle because the blister is inconvenient. A ruined afternoon is preferable to a contaminated wound miles from a road. Good preparation makes the decision calmer.
A practical routine for long days
The night before a hike, trim sharp nail edges without cutting them aggressively, inspect your footwear, and pack the repair kit where you can reach it without unpacking everything. In the first hour, pay attention to your feet instead of waiting for discomfort to become undeniable. Early miles reveal whether the lacing and sock choice are working.
At breaks, check both heels and the spaces between your toes. Change socks before they feel saturated. On steep descents, shorten your stride and retighten the heel-lock lace if your foot is sliding forward. On hot days, plan a longer rest in shade so your feet can cool and dry. These small pauses are not wasted time; they protect the miles that come later.
If you are wondering how to prevent blisters when hiking on a new route, test the system on a short outing first. Walk five miles, then ten, carrying the shoes, socks, lubricant, and tape you intend to use. Keep notes on exactly where discomfort appears. A recurring spot gives you useful information about fit and movement, not evidence that you simply need more toughness.
The steady answer
There is no heroic value in walking through a preventable foot injury. Blisters alter your stride, then your knees, hips, and attention. On an exposed route, that distraction can affect judgment just when weather or navigation demands it most. The reliable approach to how to prevent blisters when hiking is deliberately ordinary: choose stable footwear, use socks that stay put, manage moisture, inspect early, and repair the first hot spot.
The trail will still be there after a five-minute stop. Sit on a flat rock, let the boot mud dry at the edges, and give your feet an honest look. A quiet correction early is better than a painful lesson at dusk. One steady step.



No comments yet — grab the first one.