The best navigation tools for hiking are not the ones with the brightest screens or the longest feature list. They are the tools you can understand when the trail disappears under snow, the light goes flat, and your attention has narrowed to the next few yards. After enough long days in the Rockies, I trust a layered system: paper map, compass, phone, and a practiced habit of checking all three.
Navigation is less about finding a perfect line than maintaining a useful relationship with the landscape. You want to know where you are, where you expected to be, and what evidence would prove you wrong. That last question matters most. A blue dot can look reassuring right up until it places you on the wrong drainage.
What navigation tools for hiking actually need to do
A useful system answers four questions without drama. Where am I? Which direction is my route? What terrain comes next? How do I return if conditions change? Navigation tools for hiking should support those questions rather than distract from them.
Start with a paper topographic map covering the entire route and its exits. I prefer a printed map at roughly 1:24,000 scale for detailed terrain, with a larger regional map folded behind it for context. Mark the trailhead, planned camps, water sources, bailout routes, and major junctions before leaving the car. A waterproof map case is worthwhile in wet country, but a simple zip bag is better than trusting a map to an uncovered pack pocket.
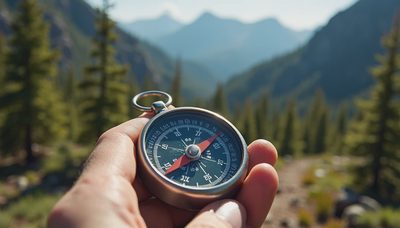
A baseplate compass remains the quiet center of the system. Learn to orient the map, follow a bearing, estimate distance, and recognize terrain features such as saddles, drainages, ridgelines, and benches. You do not need to perform complicated triangulation on every walk. You do need enough skill to make the phone unnecessary for ten minutes, then twenty.

The phone is powerful, but it is not the plan
Offline mapping apps have changed backcountry travel. Gaia GPS and CalTopo are both capable choices for route planning, map layers, waypoints, and offline use. Download maps before you leave service, switch the phone to airplane mode, and carry a battery pack that stays reserved for navigation and emergency communication.
A phone GPS receiver can usually locate you without cell service because positioning comes from satellites, not a nearby tower. The map application still needs downloaded data, however, and the phone can fail through cold, water, impact, software trouble, or a dead battery. Navigation tools for hiking work best when each tool can cover another tool's failure.
Before a trip, open the downloaded map in airplane mode. Confirm that your route, contour lines, alternate exits, and saved waypoints are visible. Check the location dot while standing at a known trailhead. A surprising number of navigation problems begin with a route that was never actually stored for offline use.
The screen should come out at deliberate intervals, not every few minutes. I often check at a junction, after a long contour, or when the terrain no longer matches the mental picture. That habit preserves battery and keeps attention on the ground. A phone is excellent at confirming a position. It is less reliable at making a tired decision for you.
Choosing between GPS units and satellite messengers
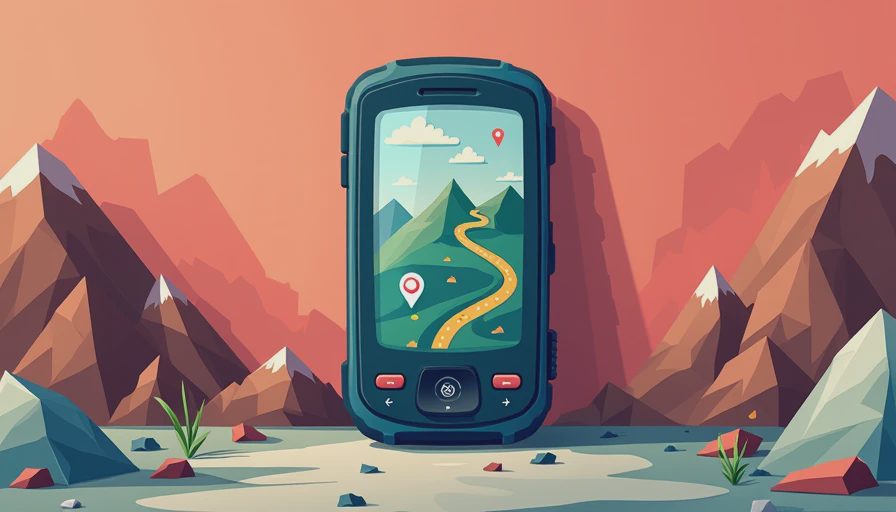
A dedicated GPS unit can be easier to operate in rain and cold, and models from Garmin and other outdoor brands generally offer stronger physical protection than a phone. Buttons matter when you are wearing gloves. Battery life also tends to be more predictable. The tradeoff is cost, another device to learn, and another file format or charging cable in the kit.
A satellite messenger such as a Garmin inReach serves a different purpose. It can send messages and emergency alerts through satellite networks in areas without cell service, depending on the device, plan, sky view, and conditions. It is not a replacement for route-finding. Navigation tools for hiking should separate communication from navigation so that an emergency device remains available when the phone battery is low.
I carry a satellite messenger on remote trips where a delayed rescue would change the consequences of a mistake. I keep it accessible, not buried beneath a sleeping bag, and I test the message function before departure. Tell a trusted person the route, expected return, and what an overdue check-in means. A messenger helps most when the plan around it is clear.
For a short, familiar day hike, a phone, paper map, and compass may be enough. For a multi-day route with uncertain weather, complex terrain, or limited exits, adding a dedicated communicator is sensible. The right choice follows the consequences of failure, not the excitement of new equipment.
A field check that prevents most mistakes
Navigation tools for hiking are only useful if you use them before uncertainty becomes panic. At each major junction, pause and run the same small sequence. First, identify your location on the map. Second, identify the direction of travel. Third, compare the map with the terrain: ridgeline, creek, slope angle, and nearby peaks. Fourth, decide what evidence you expect to see in the next fifteen minutes.
If that evidence does not appear, stop. Do not continue because the trail seems generally plausible. Backtrack to the last confirmed point while the route is still easy to recover. Marking a waypoint at a junction can make this simple, but a mental note and a few minutes of attention work too.
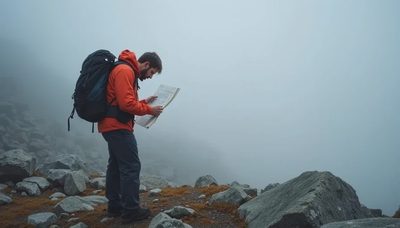
When visibility collapses, shorten the distance between checks. In fog above treeline, a compass bearing and pacing count can keep you from drifting toward a cornice or steep drainage. In snow, old tracks are evidence, not proof. Wind can erase them, and another party may have made the wrong turn first.
A useful rule is to make the decision while calm. If the weather is worsening and the route requires increasingly precise navigation, turning around early is not failure. It is good route management. The mountain does not need your explanation.
How to practice without making it a performance
Practice navigation tools for hiking on ordinary ground. Take a map to a local open space and predict which trail junction you will reach next. Walk a short bearing between two visible points. Hide the phone in your pack and use the compass to confirm direction. Then bring the phone out and compare the result without treating it as an answer key.
On a familiar route, intentionally identify three terrain features before checking the screen. Notice how a drainage bends, where the slope changes, and how far a saddle appears from the trail. This builds a three-dimensional memory that contour lines alone cannot provide.
Practice also includes administrative details. Rename waypoints clearly. Carry spare batteries or a charged power bank. Keep the map dry. Know how to send an emergency message and how to cancel a test message. These are unglamorous tasks, but they remove friction when weather, fatigue, or fear is already taking up mental space.
My practical setup for long mountain days
For most serious day hikes and backpacking trips, I carry a printed topographic map, a simple baseplate compass, a phone with offline maps, and a small battery pack. On remote routes I add a satellite messenger. The map and compass live where I can reach them without unpacking. The phone stays protected from rain and cold, and the communicator stays accessible enough to use with gloves.
I plan the route in CalTopo or Gaia GPS, then inspect it as a paper object. Where are the escape routes? Which crossings could become difficult? What happens if I reach the pass two hours late? Navigation tools for hiking become dependable when the plan includes uncomfortable possibilities.
That system is not heavy, clever, or particularly interesting. It is simply redundant. Redundancy is what remains when one screen freezes, one battery empties, or one assumption quietly proves false. Learn the tools at home, check them on the trail, and let the route unfold at a human pace. One steady step.



No comments yet — grab the first one.