The first time I understood how to layer for hiking, I was above treeline on the Colorado Trail with sleet moving sideways across the ridge. I had a warm fleece, a waterproof shell, and a cotton shirt underneath. On paper, that sounded reasonable. In practice, the cotton stayed damp, the fleece trapped too much heat on the climb, and the shell turned my back into a small greenhouse.
A useful layering system is less about owning the right jacket than managing moisture, wind, effort, and pauses. The goal is not to feel perfectly comfortable every minute. It is to stay dry enough while moving, warm enough when stopped, and prepared for the weather to change before you reach the next shelter.
The three jobs every layer should perform
When people ask how to layer for hiking, I start with function rather than brand names. A hiking system has three basic jobs: move sweat away from your skin, provide insulation, and block wind or precipitation. Those jobs can be handled by three garments, or by more pieces in colder conditions.
The base layer touches your skin. Merino wool and synthetic polyester are the practical choices because both continue to insulate better than cotton when damp. A lightweight merino top feels comfortable across a wide temperature range, while a synthetic shirt often dries faster during hard uphill work. I have used the same 150-weight merino crew on trips from the Indian Peaks to the San Juans, provided I had a dry layer reserved for camp.
The insulation layer holds warm air near your body. A fleece works well when you expect sustained movement and frequent temperature changes. A lightweight down or synthetic puffy is better for breaks, camp, and cold wind, but it should not be your main climbing layer unless conditions are unusually cold and dry.
The outer shell handles wind and precipitation. It can be a rain jacket, wind shirt, or a more protective hardshell depending on the forecast. The shell does not create much warmth by itself. It preserves the warmth your other layers have already built.
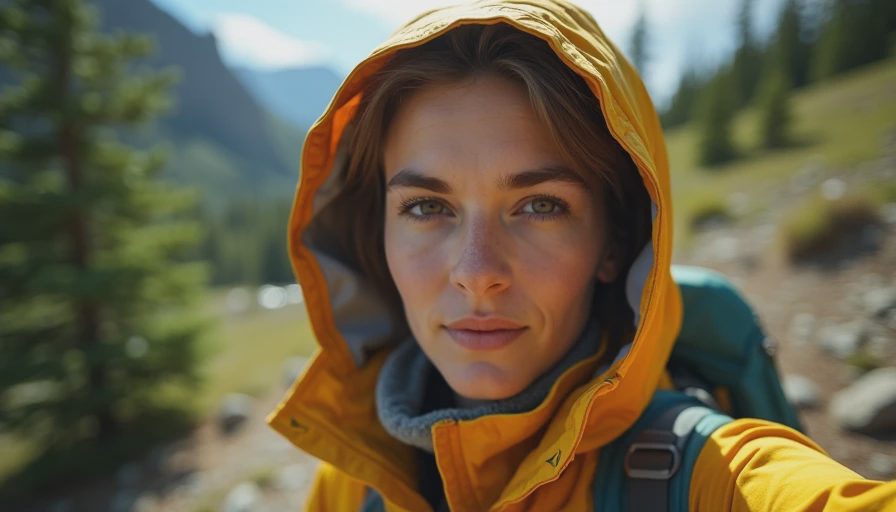
How to layer for hiking on the uphill
The most common mistake is starting too warm. If I am chilly for the first five minutes of a morning climb, that is usually fine. If I start comfortable in a fleece and soon feel sweat collecting at my collar, I have already dressed too heavily.
For a cool, dry climb, I often begin with a lightweight base layer and a wind shirt. The wind shirt weighs little, blocks the sharp air on exposed switchbacks, and vents more easily than a rain shell. If the trail steepens, I unzip it or pack it away. This simple adjustment has kept me drier than wearing a waterproof jacket through every uphill mile.
Use your clothing before you are soaked. Remove a fleece at the first sign of overheating, not when your back is already wet. Open pit zips and front zippers early. Roll sleeves when appropriate. These small decisions matter more than a complicated clothing chart because they happen repeatedly over a long day.
Hands and head need the same attention. Thin liner gloves are useful for cold starts, trekking pole grips, and brief wind exposure. A light cap controls heat loss without forcing you to change your whole upper-body system. Keep both where you can reach them without emptying your pack.
What to wear when the trail turns cold
How to layer for hiking changes when the pace slows. A layer that was unnecessary during the climb can become essential beside a lake, at a navigation stop, or while setting up a tent after sunset. The danger is losing body heat during a pause and then trying to recover it after the cold has settled in.
Carry an insulation layer in an accessible part of your pack, not buried beneath food and a shelter. For three-season mountain trips, a light synthetic jacket is forgiving around damp conditions and camp chores. Down is lighter and highly compressible, but moisture management becomes more important. Either can work if it is dry when you need it.
Put the insulating layer on before you stop moving. When a group pauses to study a map, I often notice everyone standing still for several minutes before reaching for clothing. That delay is avoidable. Add warmth while you still feel slightly warm, then remove it when the group starts walking.
For your legs, long underwear paired with hiking pants covers many shoulder-season conditions. Rain pants add wind protection as well as rain protection, and they are valuable above treeline when the forecast is unsettled. In deep cold, add a warmer base layer rather than relying on one heavy pair of pants that becomes difficult to regulate.
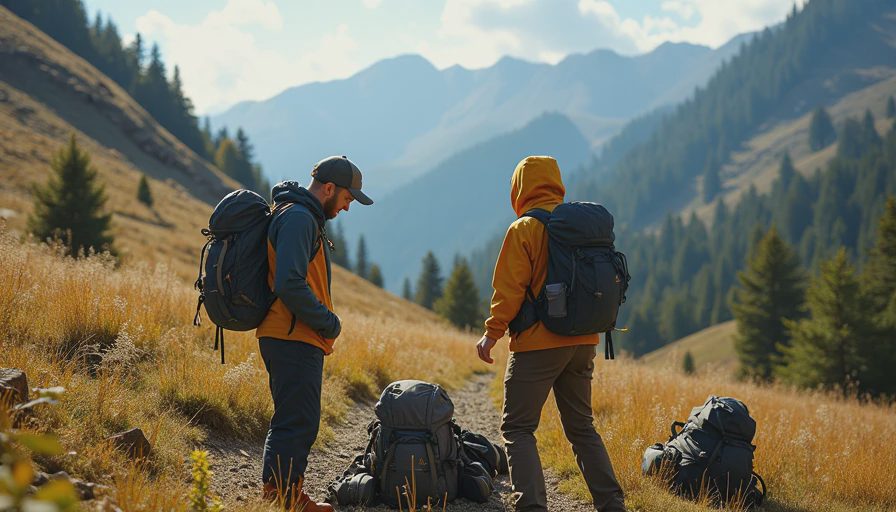
Rain, wind, and the problem of damp clothing
A waterproof shell is most useful when precipitation is steady, wind is strong, or exposure is serious. It is less useful as a permanent outer layer during a hard climb in mild weather. Even breathable membranes have limits when your body is producing heat faster than the jacket can release it.
When you learn how to layer for hiking, accept that some dampness is unavoidable. The useful distinction is between sweat dampness that you can manage and rain-soaked clothing that threatens warmth. If rain begins, put on the shell before your base layer is saturated. Tighten the hood around your head, cover exposed cuffs, and keep spare clothing in a waterproof liner or dry bag.
A pack cover protects the outside of a backpack, but it does not always protect shoulder straps or the space between your back and the pack. For important clothing, I trust a pack liner more than a cover alone. A heavy-duty liner or waterproof roll-top bag is cheap insurance for the insulation layer and sleeping clothes.
A practical system by season
In warm summer conditions, a sun hoodie or lightweight synthetic shirt, hiking shorts or pants, and a thin wind layer may be enough below treeline. Carry rain protection even when the morning sky is clean. Mountain storms do not need much time to turn a comfortable afternoon into a cold one.
For spring and fall, start with a wicking base layer, carry fleece or light insulation, and keep a rain shell close. Add a thin beanie and gloves when the route reaches exposed ridges. This is the range where flexible pieces matter most because the temperature can swing from shirtsleeves to freezing rain in the same outing.
In winter, the system becomes more deliberate. Use a moisture-managing base layer, substantial insulation, and a shell that blocks wind and snow. Avoid cotton entirely for serious cold travel. Bring spare gloves and keep them dry. If your clothing is damp from exertion, change or vent before a long stop rather than assuming a puffy will solve everything.
The five-minute trail check
Before leaving the trailhead, I ask five questions: What is touching my skin? What will I add if I stop? What blocks rain and wind? Where are my gloves and hat? Which item must stay dry no matter what?
Then I test the system during the first climb. If sweat builds, remove something. If wind reaches your torso, add the shell or wind shirt. If your hands go numb, address them immediately rather than waiting for the next viewpoint. How to layer for hiking is ultimately a practice of noticing conditions early and making small corrections.
Do not copy a clothing list blindly from a forecast or another hiker. A fast trail runner, a slow backpacker carrying a full load, and someone navigating exposed terrain will produce different amounts of heat. Use the forecast, route exposure, elevation, and your own pace to choose the starting system.
The best setup is quiet. You stop thinking about it because each piece has a clear job, the dry clothing stays dry, and you can respond before discomfort becomes a problem. That is the whole craft: one steady step, one small adjustment, and enough margin for the mountains to change their mind.



No comments yet — grab the first one.