Hiking with compass is not about rejecting your phone or pretending modern tools have no place in the mountains. It is about keeping one simple skill available when a battery dies, a storm erases a trail, or a familiar landscape becomes difficult to read. A compass does not tell you where to go by itself. It helps you make sense of where you are, where you intend to travel, and whether the ground beneath your boots agrees with the map.
I came to trust this slowly. On early trips, I treated navigation as something I would solve when the trail became confusing. That usually meant stopping late, pulling out a phone, and discovering that I had walked farther off route than I wanted to admit. Hiking with compass changed the timing of the decision. I began checking direction before the junction, before the saddle, and before entering forest where every tree looked like the last one.
What a compass can and cannot do
A baseplate compass gives you magnetic direction. It does not show a route, identify a campsite, or confirm that a line through the woods is safe. Those decisions still require a topographic map, attention to terrain, and honest judgment about weather and visibility.
The useful combination is simple: map, compass, and a known position. If you know you are beside a creek and the creek runs roughly northwest, the compass can help confirm the map. If the route should climb southeast but your travel keeps trending west, that mismatch deserves attention before it becomes a problem.
A compass is also an instrument with limitations. Nearby metal objects, a phone, a watch, trekking poles with metal components, and even a vehicle can disturb the needle. Hold it flat and away from those objects. Give the needle time to settle. A rushed reading is not a navigation technique; it is a guess wearing outdoor clothing.
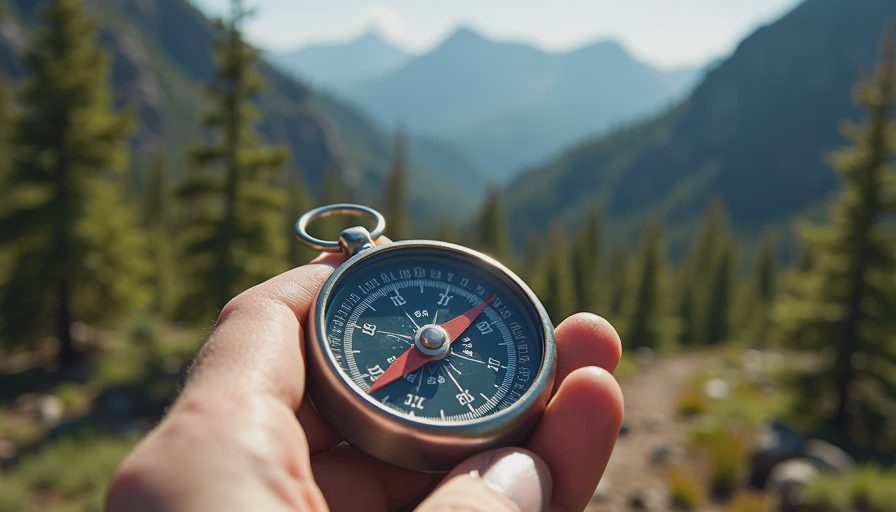
Taking a bearing without making it complicated
For hiking with compass, start with the map rather than pointing blindly toward a distant ridge. Place the edge of the compass along the line between your current location and your intended destination. Keep the direction-of-travel arrow pointed toward the destination, then rotate the bezel until its orienting lines run parallel with the map's north-south grid lines. Account for the map's declination if the map provides it.
Now lift the compass and turn your body until the magnetic needle sits inside the orienting arrow. The direction-of-travel arrow indicates the bearing to follow. Pick a visible intermediate feature, such as a distinctive boulder, bend in a drainage, or lone stand of trees. Walk to that feature, then repeat the process. This is more reliable than trying to hold a perfect line for a mile through uneven terrain.
The reverse process helps answer a more important question: where am I? Take bearings to two or three identifiable features, such as a summit, lake, or ridge junction. Transfer those lines onto the map. Their intersection gives you an estimated position, often called a resection. It will not be exact, but it can narrow uncertainty enough to make the next decision safely.
Hiking with compass when the trail disappears
A faded trail is not automatically a crisis. It is a prompt to slow down. Stop where you last had certainty, not where the landscape first feels wrong. Look behind you. Many routes are easier to recognize from the opposite direction, especially in open forest where tread disappears under pine needles.
During hiking with compass, I use a short reset. I identify the last known point, orient the map, compare the slope and drainage around me, and take a bearing toward a feature I can verify. If the map says I should be crossing a shallow drainage but I am climbing a broad ridge, the terrain has already provided useful information. I do not keep walking just because the intended direction feels close.
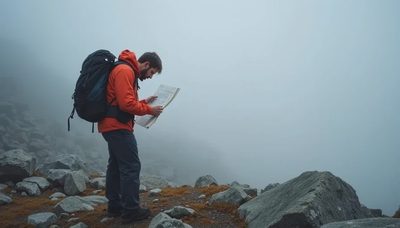
In poor visibility, reduce the distance between checks. Move from one confirmed feature to another. In fog above treeline, that might mean a cairn, a rock outcrop, or a contour change visible for only a few yards. If the next feature cannot be identified, waiting for visibility or turning around is a sound navigation choice. A compass can keep you oriented; it cannot remove cliffs, cornices, or lightning.
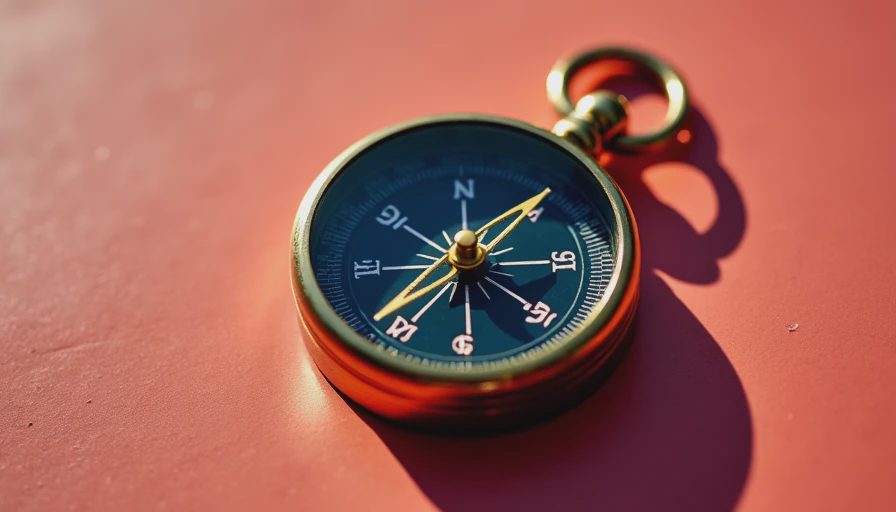
Common mistakes that create big problems
The first mistake is following the needle instead of the bearing. The red end of the needle points toward magnetic north; it does not necessarily point toward your destination. Set the bearing correctly, then align the needle with the orienting arrow as you travel.
The second mistake is ignoring declination. Magnetic north and true north are not the same, and the difference changes by location and over time. Many modern topographic maps show the adjustment clearly. Learn whether your compass has an adjustable declination feature, and set it before leaving the trailhead rather than trying to remember a correction while tired.
The third mistake is trusting a digital blue dot as proof. GPS is extremely useful, but its position can wander beneath steep walls, dense trees, or heavy weather. During hiking with compass, use the phone to supplement a paper map and compass, not to replace your understanding of the land. Keep the phone protected and in airplane mode when practical so the battery remains available for an emergency.
A fourth mistake is failing to practice. Reading instructions at home is not the same as turning a map in wind with cold hands. Practice in a local park. Take a bearing to a tree, walk out of sight, and return using the compass. Then practice on a familiar trail where the consequences of a small error are low.
A calm field routine
Before leaving the trailhead, mark your route, alternates, water sources, and the points where you expect to make navigation decisions. Write a few bearings on the map cover or in a notebook. This takes several minutes and reduces mental work later.
At every major junction, confirm three things: the direction you came from, the direction you intend to go, and the terrain you should encounter next. Say them quietly if you are hiking with a partner. Shared navigation prevents the common situation where everyone assumes someone else is paying attention.
If uncertainty appears, stop moving. Eat something, drink water, and let the immediate pressure soften. Then compare map, compass, terrain, and time. If your position remains unclear, reverse your route to the last known point. The embarrassment of turning around fades quickly. The consequences of continuing into unknown terrain can last much longer.
Hiking with compass is ultimately a practice in attention. It teaches you to notice the angle of a slope, the direction of a creek, the shape of a saddle, and the changing feel of the ground. Technology still belongs in the system. So does a charged phone, a downloaded map, and a clear emergency plan. But the quiet confidence comes from knowing you can make a reasonable decision when the screen goes dark.
One steady step, then another. That is enough direction for most days, provided you know which way the steps are taking you.




No comments yet — grab the first one.